
How Can We Help?
Camera groups allow you to organize your video streams on the Live Video page the way you want them. You can create multiple camera groups and switch between them as needed.
To create a camera group using the website:
Note: A camera group labeled All Cameras is created automatically. It contains all cameras on the account.
- Log into the website.
- Click Video.
- Click
 .
. - Click New Camera Group.
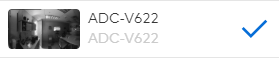
- Click to select one or more cameras.
Note: There is no limit to the number of cameras that can be added to a group.
- Arrange the cameras as desired.
- In the Group Name field, enter a name.
- Click Save Group.
Edit a camera group using the website
To rearrange the cameras in a camera group:
The cameras appear in the same order on the Live Video page as they do on the Edit Camera Group page.
- Log into the Customer Website.
- Click Video.
- Click .
- Click
 next to the desired group.
 - Click
 .
. - Mouse over the camera view, then click and drag
 to move it. Drag the camera view all the way to the
  icon to ensure it moves to the correct position.
To add a new camera to a camera group:
- Log into the website.
- Click Video.
- Click .
- Click next to the desired group.
- Click .
- Click to select the desired camera.
Note: There is no limit to the number of cameras that can be added to a group.
- Click Save Group.
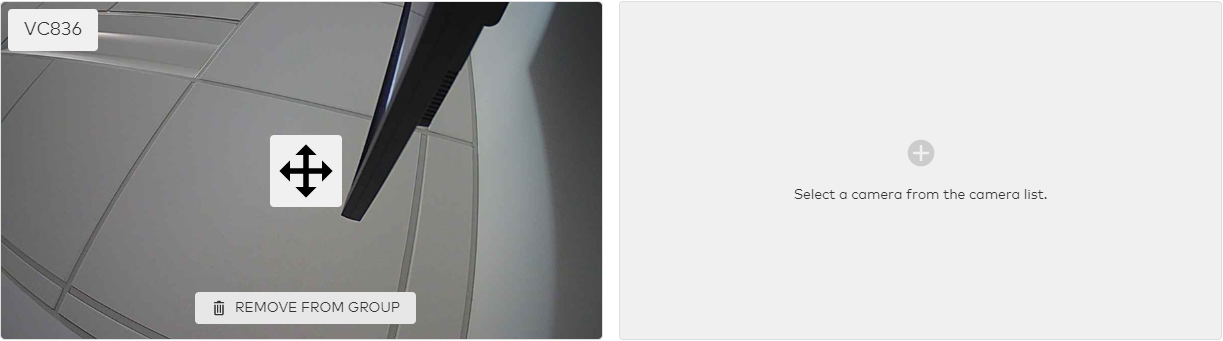
To remove a camera from a camera group:
- Log into the Customer Website.
- Click Video.
- Click .
- Click
 to expand the camera list for desired group.
 - Mouse over the camera to delete, then click
 to delete the camera.