
How Can We Help?
The Intelogix Simon XT requires a 6V, 1.2Ah alarm battery.
To replace the battery in an Interlogix Simon XT:
If desired, put the system in test mode with the monitoring station before proceeding. For more information, see Put a system On Test with the monitoring station.
- Disarm the panel.
- Remove AC power from the panel.
- Disconnect the panel from the mounting plate.
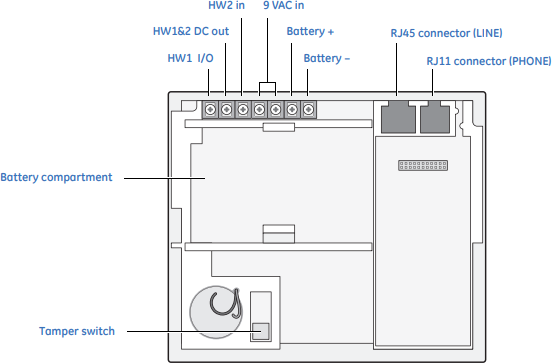
- Feed the stripped ends (bare stranded wires) of the battery leads underneath the terminal barrier and connect the black wire to the negative (Batt-neg) screw terminal and the red wire to the positive (Batt+pos) screw terminal.
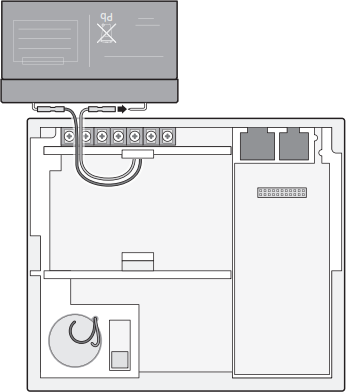
- Connect the lug end of the red battery lead to the red battery tab.
- Connect the lug end of the black battery lead to the black battery tab.
- Align the red (+) battery terminal with the right end of the terminal strip. The logo and specification information should be readable.
- Insert the front end of the battery under the forward battery compartment latch.
- Push forward and rotate the battery downward until it seats beneath the rear battery compartment latch.
- Reconnect the panel to the mounting plate.
- Restore AC power.